Create a frame by frame animation
home » flash components » transition effects » txeff full license » create a frame by frame animation »
1. This tutorial will show you the steps to create an easy frame by frame animation using the TXEFF component. However, this animation will be more complex than the one created with the Simple Application tutorial. It will apply two animations on two text fields, one from which will be inserted into a movie clip. On that movie clip we'll be applying filters and a simple scale effect, for a more enriched visual effect.
2. Make sure that you have correctly installed the TXEFF component. Next, open your Flash CS3 application, create a new ActionScript 3.0 Flash file (File -> New -> Flash File (ActionScript 3.0)) and save it as "FrameByFrame.fla". Now, you need to set up the stage: set the frame rate to 30 fps and set the background to black.
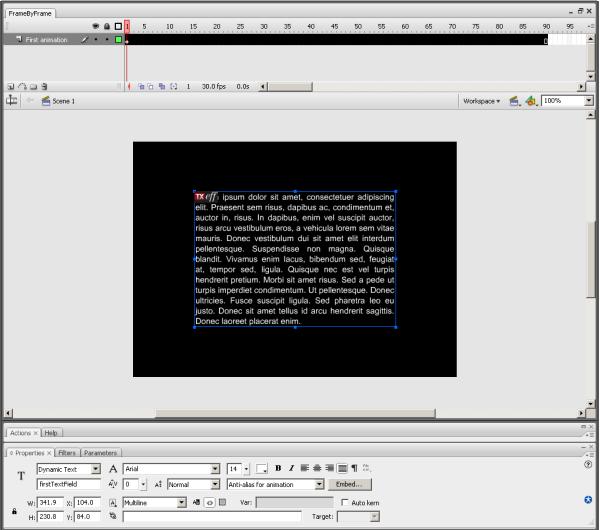
3. On the Timeline, select the existing layer (Layer 1) and rename it to "First animation". On this layer we are going to place a text field and an instance of the TXEFF component. Select the Text tool from the Tools Palette, place a text field on the stage and name it "firstTextField". Leave the text field type to Dynamic Text, set the text field to render text as html and select Anti-alias for animation as the anti-alias type. Write the text you need in the text field and set the font to Arial, font size to 14px, font color to white. Do not forget to embed the font, either by using the Embed button, with the Auto Fill option, on the Properties panel or by including the font into the Library. If you don't know how to embed fonts into the Library, please see the tutorial Embed fonts found in this package.
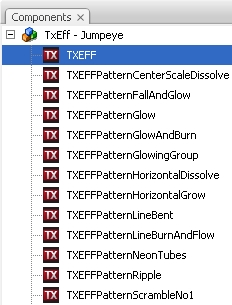
4. Now, select the TXEFF component from the Components panel and drag it over the text field. You can find the component in the TxEff Jumpeye folder, in the Components panel.
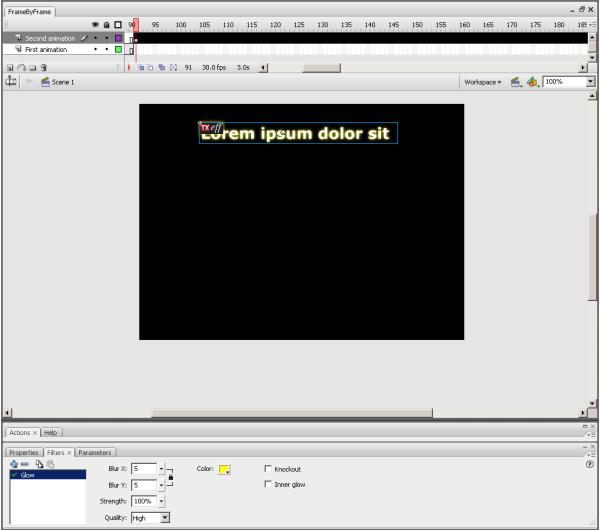
5. Select the TxEff component instance and bring up the Component Inspector panel. From the patternName list select "Alpha" and set the preset parameter to 9 (show letters randomly). Next, set the tweenDuration parameter to 3 (seconds). Finally, in the Timeline, select the frame no. 90 end press F5 to insert empty frames. We've created a 90 frame animation so it would last for 3 seconds, as long as the tween duration of the effect (remember that the clip frame rate was set to 30 fps). If you managed to get this far, your stage should look like this:
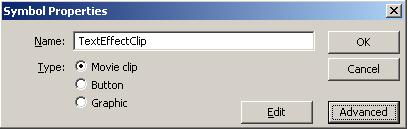
6. Next create a new symbol (Insert -> New Symbol or press Ctrl+F8), set it to Movie clip, name it "TextEffectClip" and press Ok.
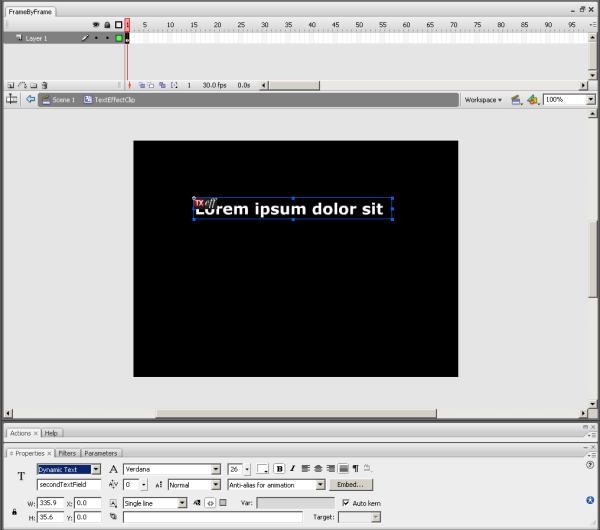
7. By default you are brought in the new movie clip's edit mode. If not, select the new clip from the Library, right-click (Windows) or Control-click (Macintosh) on it and select Edit from the popup menu. Now, place a new text field on the first frame and name it "secondTextField". Set the font to Verdana, 26, bold and select the white color for the font. Next, embed the font by pressing the Embed button in the Properties panel. Next, drag the TXEFF component from the Library and drop it over the text field. With the TXEFF component still selected, activate the Component Inspector. From the patternName list select "XYScale", set the preset parameter to 18 (display words randomly) and set tweenDuration to 3. If you finished the settings, your stage should look like this:
8. Leave the edit mode of TextEffectClip and, on the main timeline, insert a new layer and name it "Second animation". On this second layer, select the 91st frame and insert a new key frame (F6 or right-click (Windows) / control-click (Macintosh) on that frame and select Insert keyframe from the popup menu). With that new key frame selected, drag the TextEffectClip from the Library and place it on the Stage, somewhere on the top.
9. To spice-up the things a little bit, we are going to "beautify" and animate this clip. First, select the instance of the TextEffectClip and in the Properties panel, select the Filters tab. Press on the plus sign (Add filter button) above the empty Filters list and from the menu select the Glow filter. Set the filter's color to yellow and the quality to High.
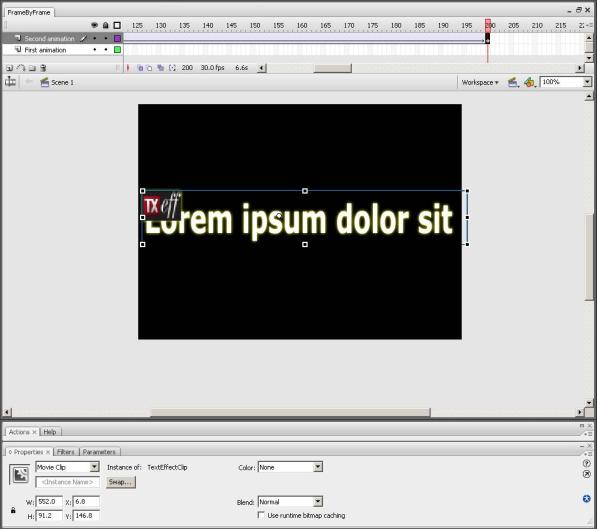
10. Since the text effect lasts for three seconds we are going to add a new key frame, on the same layer, at frame no. 200 (a little more than 3 seconds). Now, we want this text to grow, while the effect is applied on it. For this, on this new key frame, select the TextEffectClip and place center on the Stage. Now, you need to increase the size of the clip. You can either modify its size and coordinates from the Properties panel or, by using the Free Transform Tool. From the Tools Palette, select the Free Transform Tool or press Q. Next, select one of the clip's corners and drag it until it reaches the size you want.
11. Now that the two key frames are set, we need to create a motion tween between them. Select one of the frames between the key frames, on the Second animation layer. Right-click (Windows) or Control-click (Macintosh) and, from the popup menu, select Create Motion Tween. You'll notice an arrow appearing between the two key frames and the color of the frames turns from gray to purple. If you scroll the timeline's play head between the two key frames, Flash will display the intermediate states of TextEffectClip, just like the real animation.
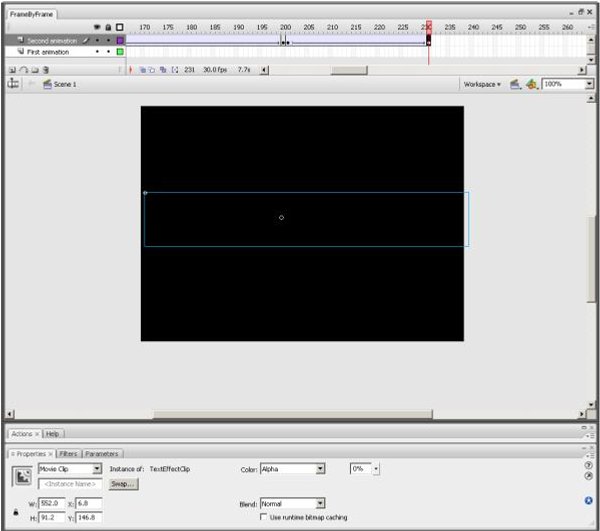
12. In the last part of our animation we will fade out the TextEffectClip instance. On the same layer, select the 201st frame and insert a key frame (basically duplicate the last state of the previous animation). The fade out animation will last one second (that is 30 frames). Select the 231st frame and insert a key frame there too. Select the TextEffectClip instance on this new frame and, from the Properties panel, select Alpha from the Color list. Set the alpha transparency of the clip to 0% and create a new motion tween between these two key frames (201st and 231st ) just like the you did at the previous animation.
13. All that remains is to test your movie clip (Command -> Test or Ctrl+Enter).
flash content
Download the source files for this tutorial