Installing an MXP extension file tutorial
2. I've used the Loader Pro V3 component.
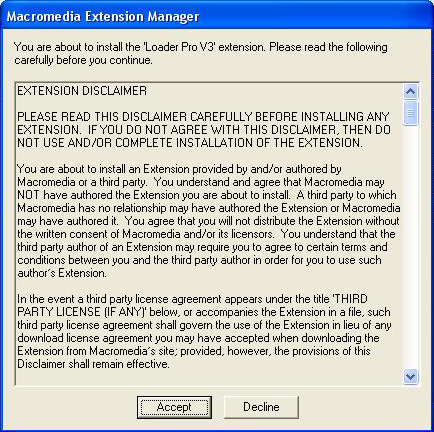
3. Click Accept on the EXTENSION DISCLAIMER window that pops up. The component is being installed.
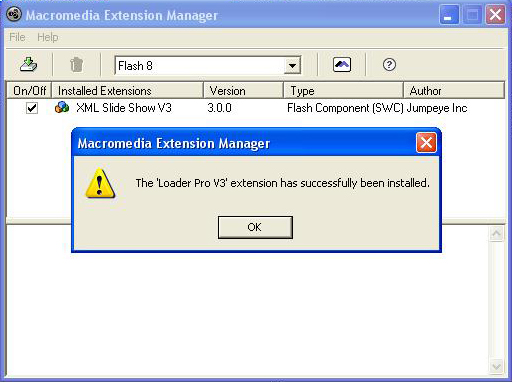
4. After installation, click OK on the confirmation window. Your extension was installed on the hard-drive.
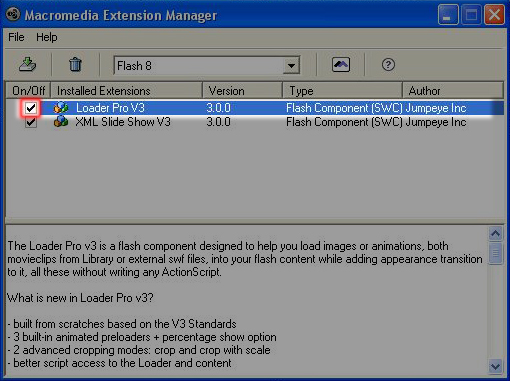
5. Make sure that the On/Off check box beside the newly installed extension is marked (like in the image below), or else your component wouldnt be recognized by Flash. Now you can close Macromedia Extension Manager.
6. Open Macromedia Flash with your document (or a new document). Make sure that the Components window is opened, if not go to Window/Components (or press Ctrl+F7 on Windows; Command+F7 on Mac). Drag the Loader Pro V3 component on the stage from V3 Components Jumpeye category, where all the Jumpeye components are stored.

7. Set up the component.